In the process of moving and prioritizing furniture to keep, my client Nancy almost got rid of a small dresser that had a heavy, cracked and peeling coat of white gloss paint (over many coats of various other colors!). In this state, Nancy didn’t see a spot for this dresser – until her sister (also a client!) suggested she have me do a faux wood finish similar to the look of a larger piece Nancy was going to keep.
Below are pictures of the dresser before refinishing and the “reference” bureau. The first step was to scrape off all the loose paint and sand all the surfaces to clean it up as much as possible and to make sure my paint would stick. Adhesion is always important – so my next step was to go over all of the painted surfaces with a good bonding primer (I have had great luck with a product called Stix by INSL-X).

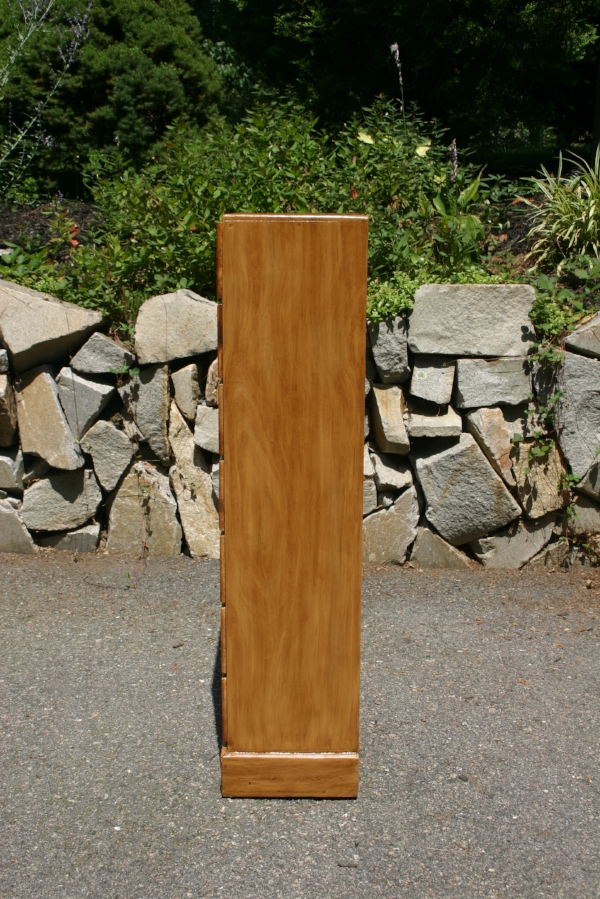
The dresser before faux painting

The "reference" dresser
Before painting the dresser, I then did some test finishes on a separate board. First was the task of picking colors. I wanted the result to look fresh and clean – but it still needed to have a slightly aged, yellowed cast to look in place with the other pieces. To accomplish this, I chose a wood tone that was slightly darker and more yellow than “new” wood as a base color, and a slightly darker shade of the same hue for the wood grain on the sides and back. For the burl, I used my fine-art acrylic paints and mixed colors using Nancy’s pictures of the larger dresser as a guide. Once I was happy with the test – it was on to the dresser.
First, all surfaces got 2 coats of my base color and then I jumped into creating the faux wood grain on the top and back. When this was dry, I went over the surfaces with a thin coat of dark walnut stain to get the color where I wanted it and create a more authentic stained wood look. The drawers I did using a chip brush and a few different colors of my thinned-down acrylic paint to simulate the swirling wood grain and knots of the burl. As I did this, I put the drawers in the dresser to make sure the overall look was cohesive between the drawers and the dresser frame, and between the drawers themselves.
Once I got this to where I wanted it, I sent pictures to Nancy who thought it looked great! To finish it up, all that was left was a few coats of acrylic polyurethane to give the finished product some shine and protect it for years to come. Now it just needs the antique brass knobs Nancy has for it!!
Enjoy!
Jason

The completed dresser (just waiting on knobs!)

Before

After
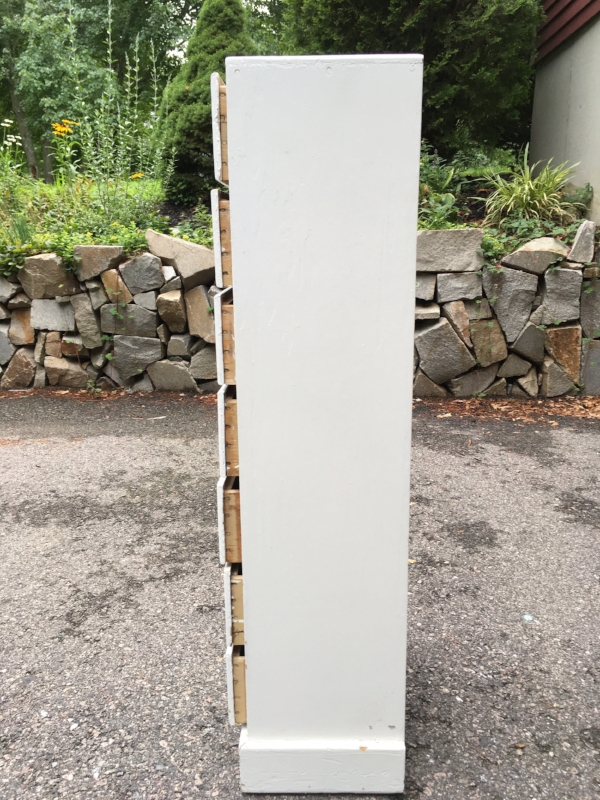
Before