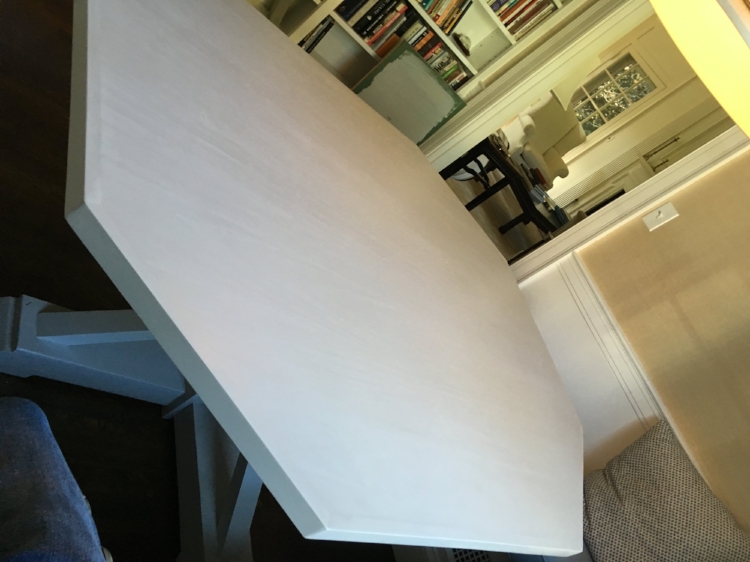
The key to a lot of the work I do comes down to the word “custom” – and a couple of recent painted furniture jobs are great examples!
The first example is a table my client Amy had made to fit a sitting nook in her home. Once the table was complete and in its raw-wood form, Amy contemplated many different finishes to fit her space. Because I was part of these conversations with Amy and her interior designer, I was keyed in to Amy’s thoughts and preferences. We went from using greens and golds in a distressed and striated pattern to a red to white-wash. With the green and red samples, Amy liked the idea of making the table a statement piece – but ultimately decided that the table was too large in a relatively small space to make it such a bold statement. She did like the striated pattern in my first green and gold concept, and also liked seeing some of the grain in the wood – which is what led her to considering the whitewash option. This ended up being just a little too busy, however – and her designer recommended a flat color, using a neutral but very pretty color called Purbeck stone using Farrow & Ball paint.
After applying primer and 2 coats of the paint, I lightly sanded the surface to apply a third and final coat --- but ended up loving the sanded surface! The result was a very subtle striation from the grain of the wood; where the grain was raised got sanded to a smooth matte finish, while the valleys of the grain retained the eggshell finish of the paint. The sanded finish was beautiful to the touch and visually captured all of the things Amy had been looking for! We accomplished the striated look of the grain, while keeping it subtle and not too busy. The new finish also became something special and distinctive without being too bold. I called Amy and she came to my studio that day to see what I ended up with – and absolutely loved it!
The second example is a backgammon table my client David had made – which also was in its raw-wood state when I was called in. In this case, the legs and frame of the table were upholstered in a silver leather and the outside of the backgammon table (when closed) was finished in a textured and patterned fabric in white and grays. David’s initial instinct was to paint the backgammon board in just black and white – but after talking through options, we ended up working with the colors in the table and the room to incorporate 2 different grays with black and white.
After prepping and priming the surfaces, I painted 2 coats of the base colors – using a lighter gray for the board background and a slightly darker gray for the frame/surround and the trays on either side. I then measured out the space to draw the correct number of triangles - which I ultimately painted using tape to keep crisp edges. Finally, I finished it off with 3 coats of acrylic polyurethane to hold up to years of use!
The end result gave David and his family a functional backgammon table – but also created a piece that fit perfectly into their beautiful home!
Enjoy,
Jason


